Step-by-Step Guides
Save your shows to your account and back up
Keep your shows safe: save them to your account, upload older shows, and make a backup of the data on this computer.
Last updated 2026-10-08 · Applies to NotBot 1.4.4+
Everything NotBot records during a show (sales, buyers and their numbers, labels) is kept on the computer NotBot runs on. This guide shows you two ways to keep it safe. The first saves your shows to your account, so you can see them on the website and on your other computers. The second makes a backup copy on this computer that you can go back to. Both are in Customize › Advanced Settings › Sync & devices.
Before you start
- NotBot is installed and you are signed in. See Sign in to NotBot.
- Saving shows to your account needs an internet connection. Backups do not.
- Printing works exactly the same whether saving to your account is on or off.
Save your shows to your account
Step 1: Click Customize
In the purple bar at the very top of NotBot, click Customize.

Step 2: Click Advanced Settings
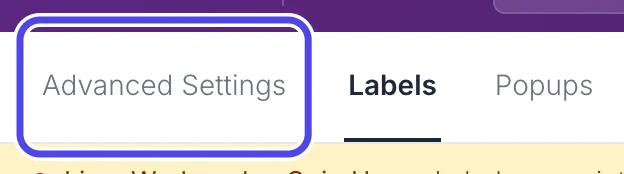
Near the top left of the Customize page, click Advanced Settings.
Step 3: Click Sync & devices
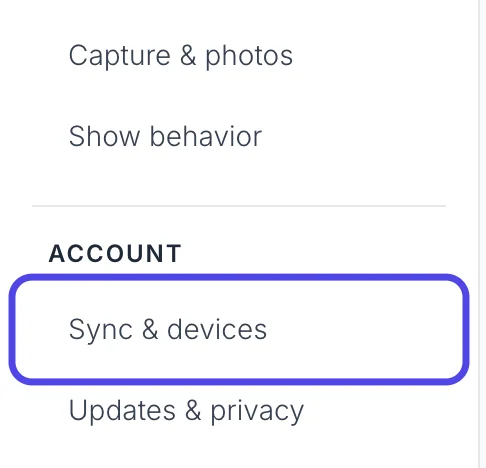
In the list on the left, under ACCOUNT, click Sync & devices.
Step 4: Turn on Include data from this computer
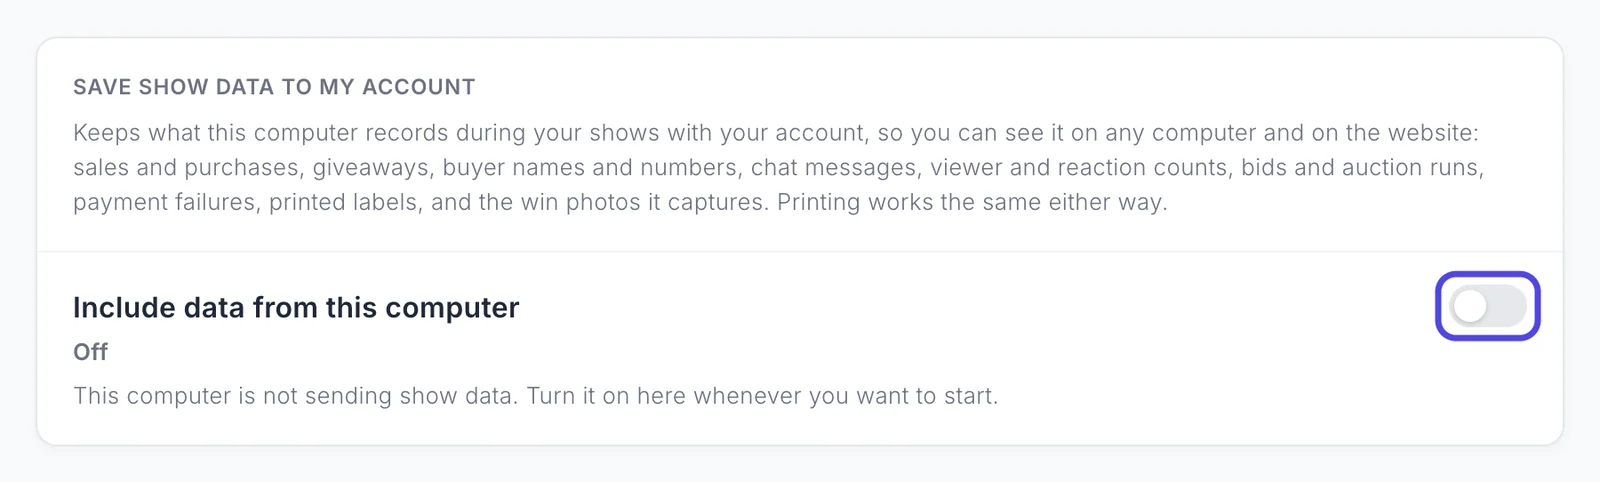
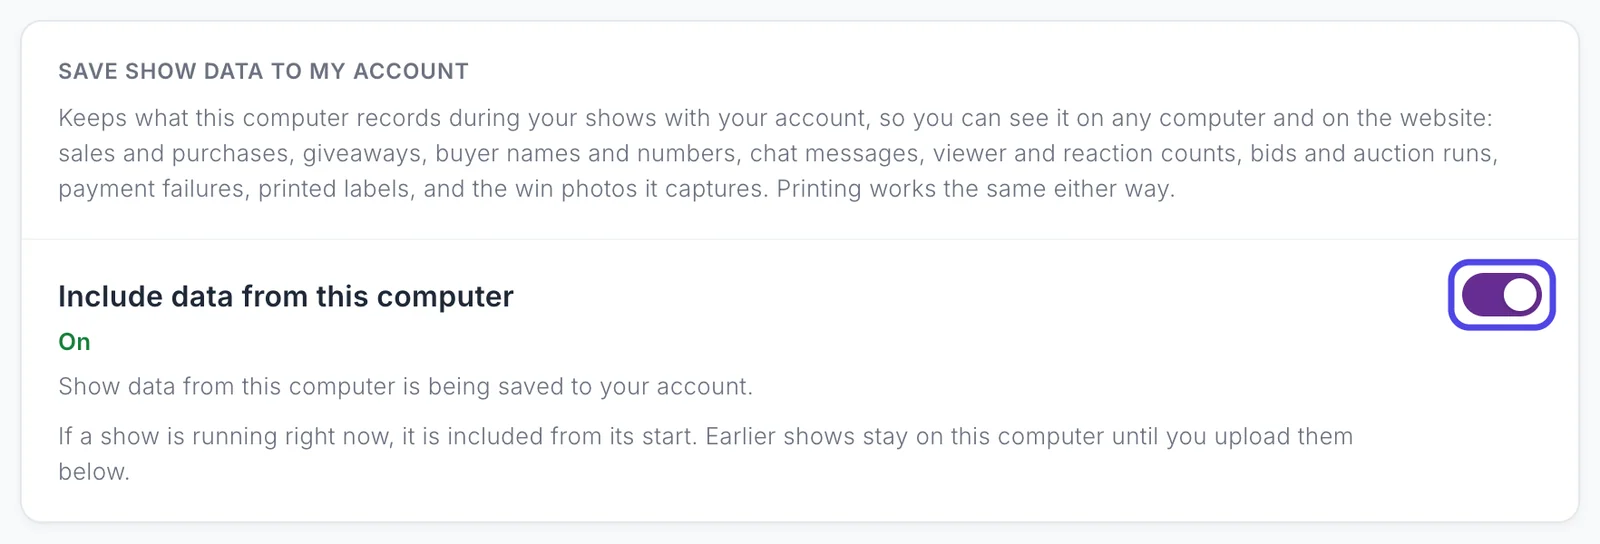
The first box is Save show data to my account. Its description lists everything that gets saved: sales and purchases, giveaways, buyer names and numbers, chat messages, viewer and reaction counts, bids and auction runs, payment failures, printed labels, and win photos.
Click the switch next to Include data from this computer. It is off (grey, and the word Off under its name) until you turn it on.
The switch is for this computer only. If you run NotBot on more than one computer, turn it on on each one whose shows you want saved.
Step 5: Check that it says On
After a moment the switch turns purple and the word under the name changes to a green On, with the line Show data from this computer is being saved to your account.
From now on, every show you run on this computer is saved to your account as it happens. If a show is running when you turn this on, that whole show is saved, from its start. You can see your saved shows on our website; See your shows on the website (NotBot Data) shows you where.
Shows you ran before you turned this on stay only on this computer until you upload them, in the next steps.

Upload shows from before you turned it on (optional)
Once saving is on, a Past shows box appears further down the page if this computer has shows that are not in your account yet. Uploading them is up to you; nothing old is uploaded unless you ask.
Step 6: Choose which older shows to upload
Scroll down to Past shows. It says how many earlier shows and sales are on this computer but not in your account.
- The round buttons narrow the list by date: All shows (the starting choice), Last 30 days, Last 90 days, This year, or Pick dates to type a start and end date.
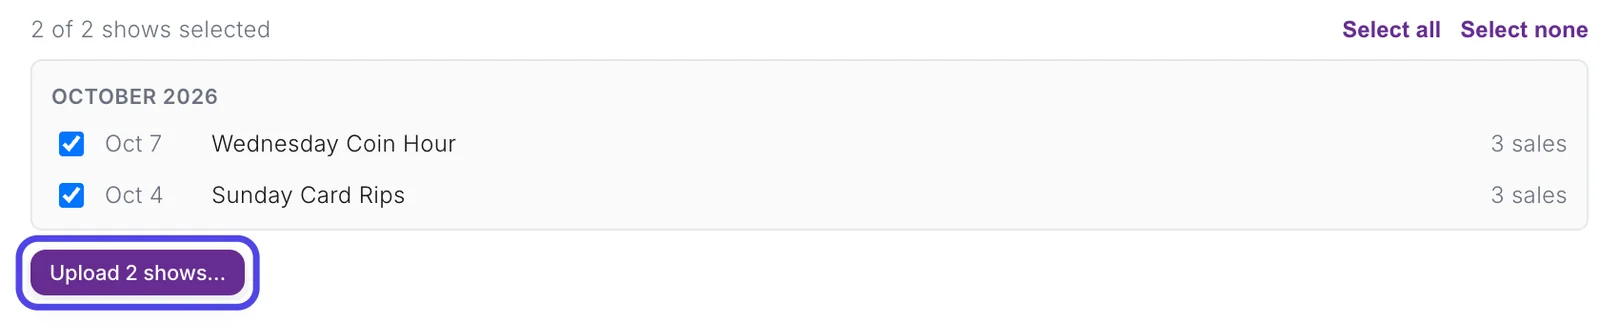
- The list shows each show's date, name and number of sales, grouped by month. Every show starts ticked. Untick any you do not want, or use Select all and Select none above the list.

Step 7: Click Upload
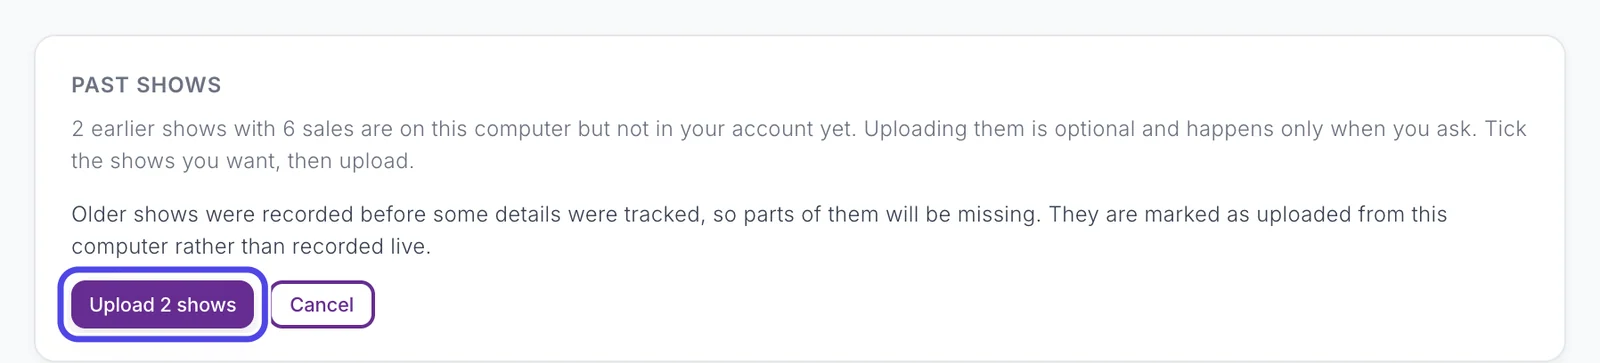
Under the list, click the purple Upload 2 shows… button. The number on it is how many shows you ticked.
Step 8: Confirm the upload
NotBot tells you that older shows were recorded before some details were tracked, so parts of them will be missing, and that they are marked as uploaded from this computer rather than recorded live.
Click the purple Upload 2 shows button to start, or Cancel to go back.
Step 9: Wait for the upload to finish
While it runs, a line shows how far it has got. NotBot uploads the sales of every show first (Uploaded 1 of 2 shows…), then the photos, one show at a time (Images: 0 of 2… counts shows, not photos). Now: names the show it is working on. The Stop button next to it stops the upload.
You can leave Advanced Settings and keep working while it uploads. If a show goes live, the upload waits for a quiet moment and carries on by itself.

Step 10: Check that it says it is done
When the upload is done the Stop button goes away and the line reads Uploaded 2 of 2 shows. If some shows had nothing new to upload, it says how many. If photos are still on their way, a second line says Images keep uploading in the background. They keep uploading only while Include data from this computer is On, so leave it on.
The uploaded shows are now in your account with the rest.

Step 11: Decide whether NotBot should ask before saving
Above Past shows, in the Your shops box, is one more switch, Ask before saving each show to my account. It is off, which means every show you open on this computer is saved.
Turn it on if you also watch other sellers' shows in NotBot and only want your own saved. A list of shops appears in the box: type the name you sell under (without the @) and click Add. Shows from your shops are then saved without asking, and any other show waits until you save it yourself from Show History or the cloud icon in the live view. Labels print either way. It applies to shows you open after you turn it on.

Make a backup of the data on this computer
A backup is a copy of NotBot's data file (your shows, sales, buyers and their numbers, and labels), kept on this same computer. It is useful before you try something new, or to go back if something goes wrong. NotBot also makes one on its own before an update changes your data. Win photos are not in the backup; they stay in their own folder (Show photos folder on the Capture & photos page, see Keep win photos from filling your disk).
Step 12: Find Data on this computer
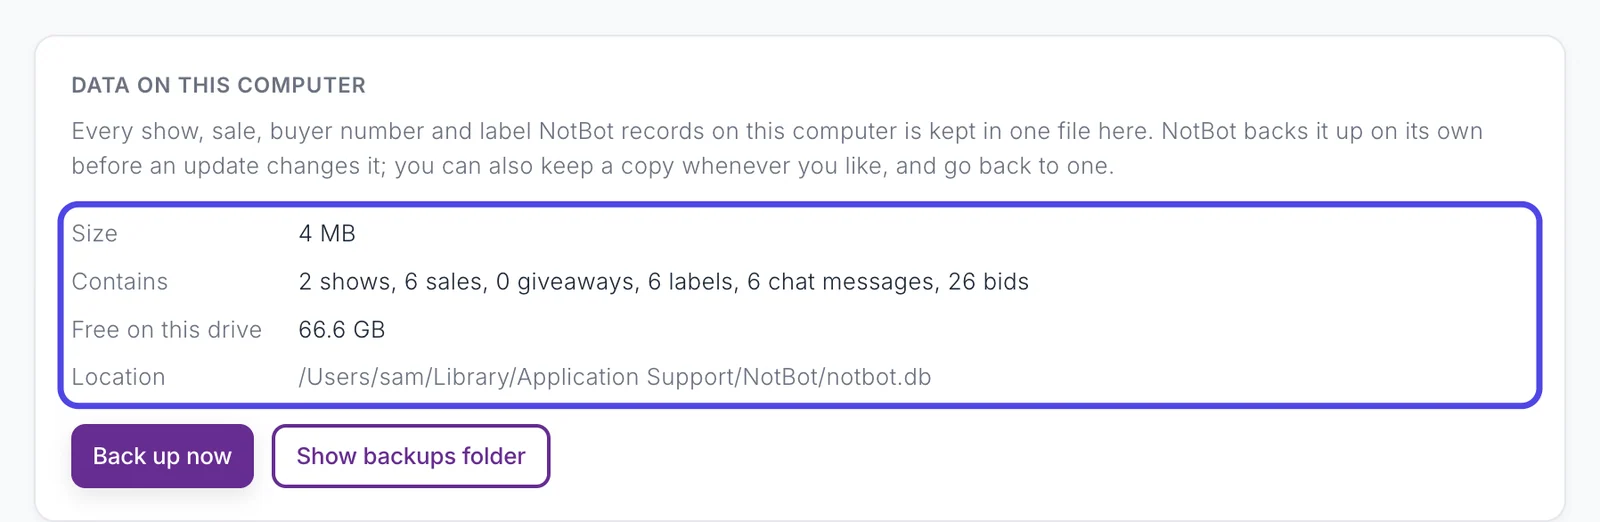
Scroll down to the box called Data on this computer. It shows:
- Size: how big NotBot's data file is.
- Contains: how many shows, sales, giveaways, labels, chat messages and bids are in it.
- Free on this drive: the space left on your computer.
- Location: where the file is kept.
Step 13: Click Back up now
Click the purple Back up now button. The button shows Backing up… with a percentage and a bar while it copies. It usually takes a few seconds.
A backup needs free space on your computer: about the size of the data file, plus some room to spare. If there is not enough, the button is greyed out and a red line explains why.

Step 14: Check the backup is in the list
When it finishes, a green line under the buttons says Backed up with the size, date and time. The new backup appears in the Backups box below, with the date and time it was made and Backed up by you.
The list can also show two other kinds:
- Before an update: made by NotBot on its own before an update changes your data. The two newest are kept.
- Before a restore: made by NotBot right before you go back to a backup, so you can undo it. The two newest are kept.
Backups you make yourself are never deleted by NotBot. To remove one, click Delete next to it and confirm.

Step 15: Open the backups folder (optional)
Click Show backups folder next to Back up now to open the folder in Finder (Mac) or File Explorer (Windows). The backups are files whose names start with notbot-.
- On a Mac the folder is Library › Application Support › NotBot › backups in your home folder.
- On Windows it is %APPDATA%\NotBot\backups.
The backups stay on this computer. To keep a copy somewhere else, copy a backup file to a USB drive or another folder yourself.

Go back to a backup
Restoring puts this computer's NotBot data back the way the backup has it. Do it between shows: while a show is running, Restore is greyed out.
Step 16: Click Restore next to the backup
In the Backups list, find the backup you want to go back to by its date and time, and click Restore next to it.

Step 17: Click Restore and restart
A window asks Restore the backup from (the date) ? and explains what happens:
- NotBot restarts and puts this computer's data back the way the backup has it.
- What is on the computer right now is kept as a separate backup (Before a restore), so you can switch back.
- Shows that started after the backup stay in your account, and a show that was underway when the backup was made is put back in your account too.
Click Restore and restart. NotBot closes and opens again with the backup in place. To change your mind, click Cancel instead.

Stop saving shows to your account
Only do this if you want this computer to stop saving shows. If you recently uploaded older shows, leave saving on for a while first: their photos only upload while it is On.
Step 18: Turn off Include data from this computer
Scroll back up to Save show data to my account and click the Include data from this computer switch again. The word under its name changes to Off, and this computer stops sending show data straight away.
Shows already saved stay in your account. Turn the switch back on whenever you want to start again.
If something looks different
I turned the switch on but it went back to Off
NotBot could not reach our server, so nothing was changed. A red line in the box says so. Check your internet connection and click the switch again.
It says the server could not be reached
The box is showing the last setting this computer knew about. You can still turn saving off; it takes effect on this computer right away. Turning it on needs the internet.
I don't see Past shows
Past shows only appears while Include data from this computer is On, and only when this computer has shows that are not in your account yet. If every show is already saved, there is nothing to show.
The upload says it is waiting for a quiet moment
A show is live, and live shows come first. The upload carries on by itself. Click Upload anyway if you want it to run now.
Back up now is greyed out
There is not enough free space on the computer for a copy, or a backup is already running. Free up some space, or delete an older backup you made, then try again.
Restore is greyed out
A show is running. Restoring restarts NotBot, so it waits until the show has ended.