Step-by-Step Guides
Find any setting
Find every NotBot setting in Advanced Settings, by page or by searching, from the keyboard or from the Settings panel.
Last updated 2026-10-08 · Applies to NotBot 1.4.4+
Every NotBot setting lives in one place: Advanced Settings, under Customize. You can browse it page by page, or type what you are looking for and jump straight to the setting. This guide shows both, plus the keyboard shortcut and the search in the Settings panel.
Before you start
- You are signed in to NotBot. If not, follow Sign in to NotBot.
Browse Advanced Settings
Step 1: Click Customize
In the purple bar at the top of the NotBot window, click Customize.

Step 2: Click Advanced Settings
Customize has three tabs: Advanced Settings, Labels (how your labels look) and Popups (how winner popups look). Click Advanced Settings.
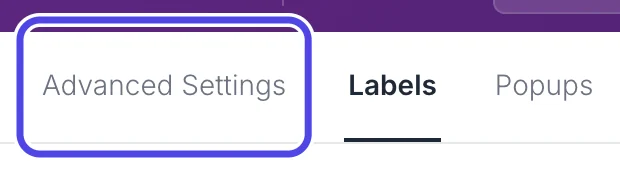
Step 3: Find your way around Advanced Settings
Advanced Settings fills the window:
- The pages, down the left side. Basics at the top has the everyday settings: print mode, printer, label size, winner popups and test labels. The rest are grouped: Labels (Label types, Rules & filters), Printing (Printers & routing), Popups (Winner popups), Show (Capture & photos, Show behavior) and Account (Sync & devices, Updates & privacy). Click a page to open it.
- Search all settings, at the top. It searches every page at once.
At the top right it says Changes save automatically: there is no Save button. A change counts from the next sale, even in the middle of a show.

Search for a setting
Step 4: Type in Search all settings
Click Search all settings and type a word you would use for the setting. You do not need its exact name. Here we look for the star NotBot prints for first-time buyers, so we type star.
The page changes to Results for “star” as you type. Each result shows the setting's name, the page it is on, and what it is set to now. also in the Settings drawer means you can change it in the Settings panel on the Dashboard too.
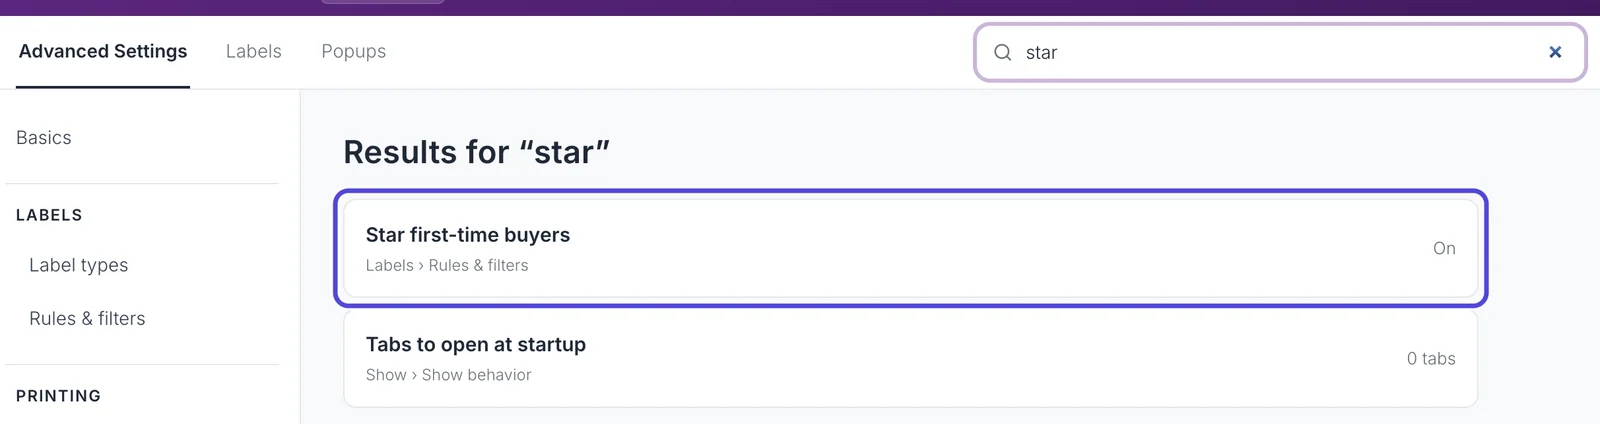
Step 5: Change the setting where it opens
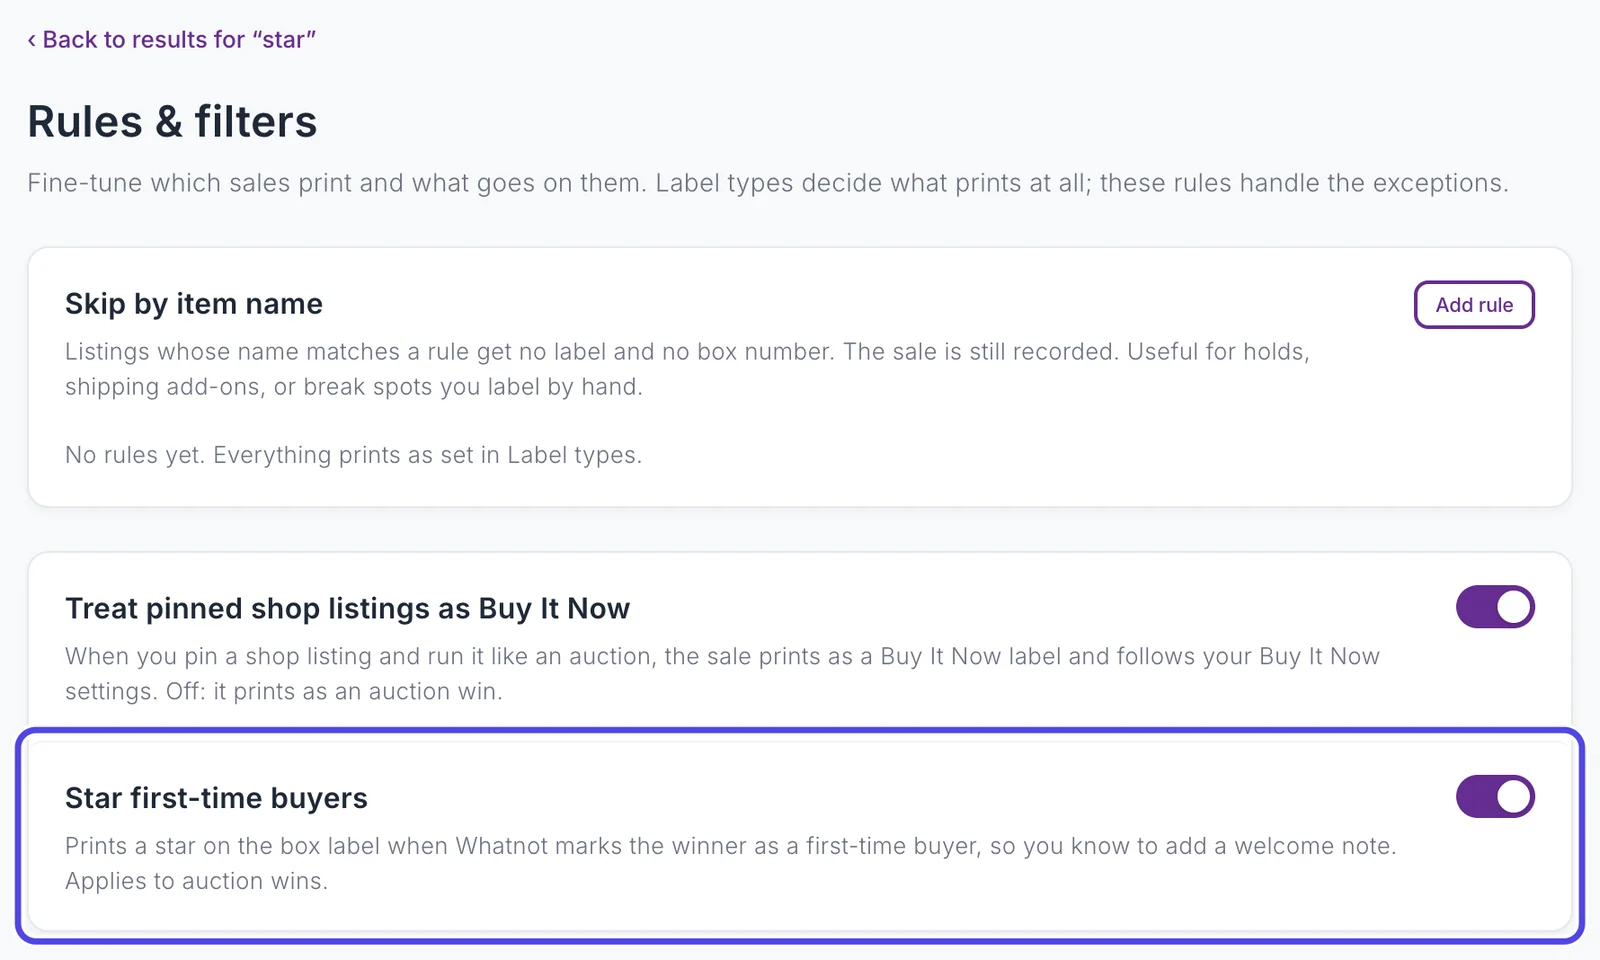
Clicking a result opens its page with the setting lit up for a moment, so you can see which one it is. Change it right there.
To look at the other results again, click ‹ Back to results for “star” at the top of the page. To clear the search, delete the word, or press Esc while the cursor is in the box.
Open the search from anywhere
Press Cmd+K on a Mac or Ctrl+K on Windows. It works wherever you are in NotBot, even while you are clicking around your show page: NotBot opens Customize on Advanced Settings with the cursor in Search all settings, ready to type.
Step 6: Or use the NotBot menu (Mac)
On a Mac, the same search is in the menu bar at the top of the screen: click NotBot, then Search Settings…. The menu shows the shortcut next to it: ⌘K.
Either way, Advanced Settings opens with the cursor in the search box. Type and the results appear, as above.

Search from the Settings panel
The Settings panel on the Dashboard has the same search, so you can find a setting without leaving your show.
Step 7: Click Settings
Click Dashboard in the purple bar, then Settings at the top of the NotBot panel on the right.
Step 8: Type in the search box and click a result
Under the tabs at the top of the Settings panel is a Search all settings box. Type a word, here photo. The panel lists every matching setting with the Advanced Settings page it is on.
Click a result, or press Enter for the first one. NotBot opens Advanced Settings at that setting.

Read more about a setting
Step 9: Click Learn more
Some settings have a Learn more link under them, for example Save a photo of each auction win here on Capture & photos, or Printer and Label size on Basics. Click it to open the help page about that setting in a new tab of NotBot's built-in browser, next to your show.

If something looks different
The search finds nothing
Type fewer words, or a different word for the same thing. Every word you type has to match, and the search looks at setting names and descriptions, not at what a setting is set to. You can also browse the pages on the left: Basics has the everyday settings.
Cmd+K or Ctrl+K does nothing
Click anywhere in the NotBot window first, so NotBot is the program you are using, then press it again. On a Mac you can also use NotBot, Search Settings… in the menu bar.
I changed a setting. Do I need to save?
No. Every change saves as you make it and counts from the next sale.