Step-by-Step Guides
Set up NotBot with the Getting Started window
Walk through the six Getting Started screens: print mode, label size, printer and a test label.
Last updated 2026-10-08 · Applies to NotBot 1.4.4+ · Identical to the stable docs
The first time you sign in to NotBot on a computer, a Getting Started window opens on top of NotBot. It asks three questions (when to print, what size your labels are, and which printer to use), sends one test label, and shows you what happens during a show. It takes about two minutes. This guide shows every screen and what to pick on each one.
Before you start
- You are signed in to NotBot. If not, follow Sign in to NotBot first. The Getting Started window opens right after you sign in.
- Your label printer is plugged in with its USB cable, turned on, and has labels loaded.
- The printer's own driver is installed on this computer, downloaded from the printer maker's website. This matters on both Mac and Windows. Connect and test your printer explains why.
- You know the size of your labels. It is printed on the box or the roll, for example 2" x 3".
Screen 1: Welcome
Step 1: Click Get Started
The Getting Started window sits in the middle of NotBot, with the NotBot name at the top and three features underneath: Auto-Print Labels, Assign Buyer Numbers and Track Auctions. Under them it reminds you how NotBot works: it watches your show on this computer while you run the show from your phone or tablet.
Click the orange Get Started button.
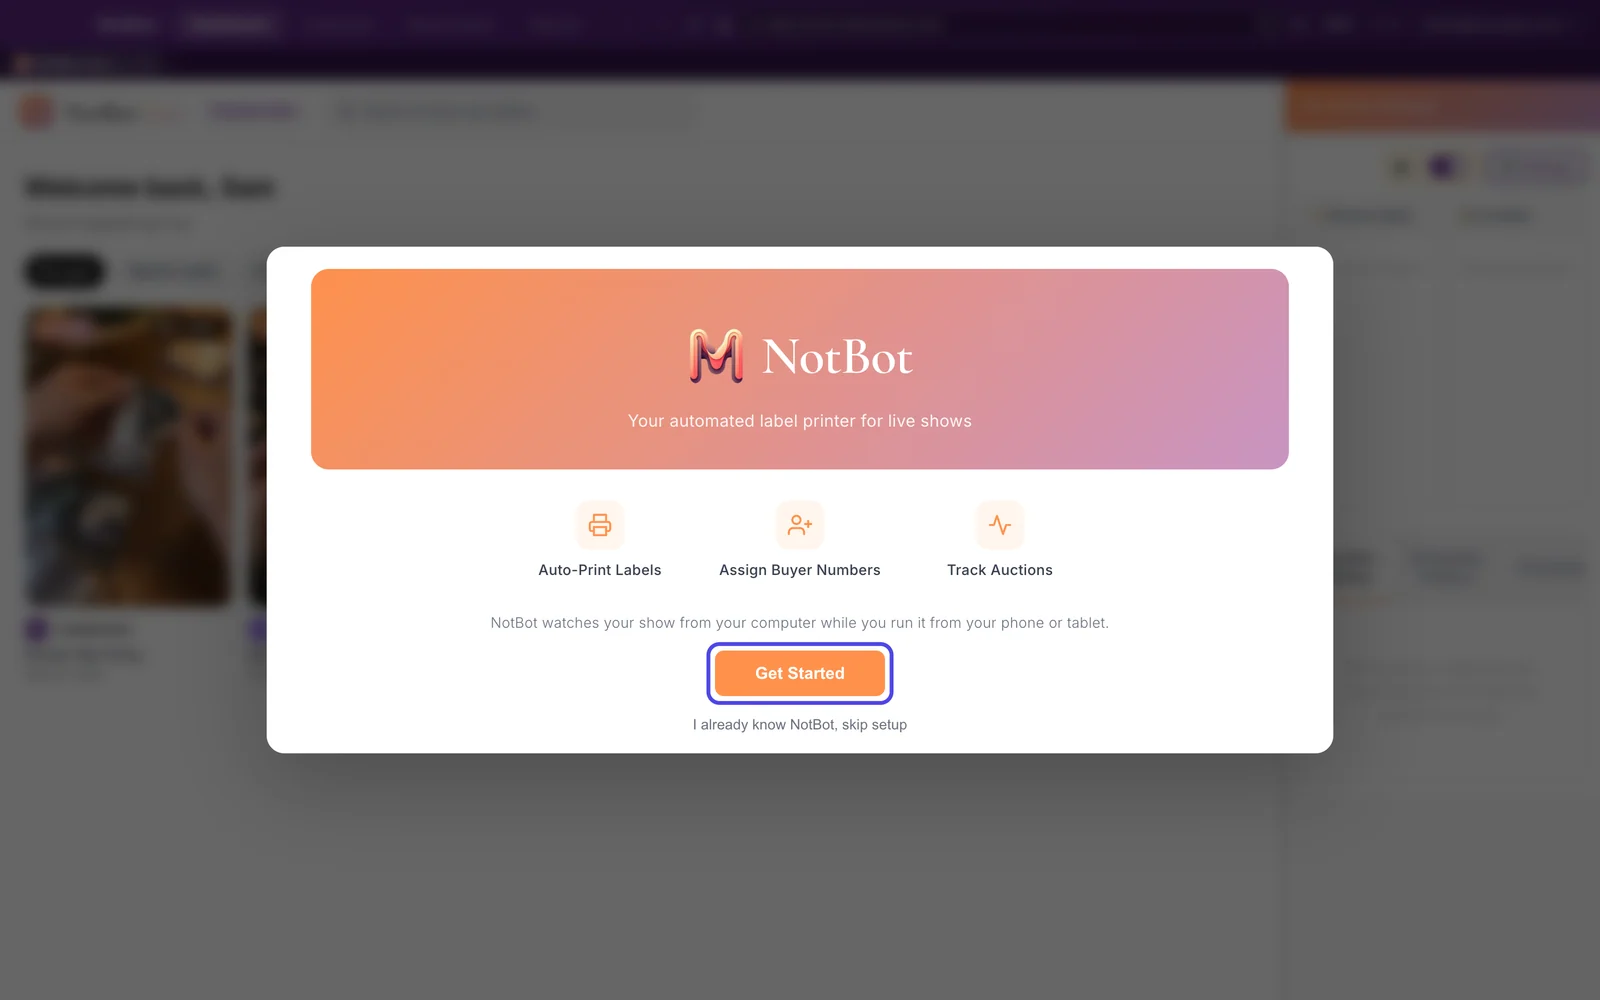
Good to know: The gray link I already know NotBot, skip setup under the button closes the window without asking anything. Only use it if you already know how you want NotBot set up. You then choose your printer yourself, as shown in Connect and test your printer.
Screen 2: Choose when to print
This screen decides which wins get a label: one for every item, one per buyer, or both. In Buyer Only and Item + Buyer, buyers in a show get their own numbers (#1, #2, #3 and so on).
Step 2: Click the print mode you want
The three boxes near the top of the screen are the three print modes:
- Every Item (left) prints a label for every item a buyer wins. Pick this if you put a label on each item.
- Buyer Only (middle, marked Popular) prints one box label per buyer, the first time they win an auction in the show. Pick this if you pack all of a buyer's items into one box and label the box. Normally no new label prints when the same buyer wins again, because their box already has one. Giveaways and Buy It Now sales print an item label instead, unless you change that later in Customize › Advanced Settings › Label types.
- Item + Buyer (right) prints a label for every item, plus a box label the first time a buyer wins.
Buyer Only is already chosen when you start (it has the orange border, circled in the picture). If you are not sure, keep it. You can change it any time in Settings, the gear button at the top of the NotBot panel.
Under the boxes, a moving example plays a short pretend show so you can watch what each mode prints. Click a box to see its example.

Tip: Not sure which mode fits the way you pack? Choose which labels print compares them with example labels.
Step 3: Click Next
Click the orange Next button in the bottom right corner of the window. You use this button on every screen from here on.
Back, next to it, takes you to the screen before. The row of numbered circles at the top of the window shows where you are: green circles with a check mark are screens you have finished, and the orange circle is the screen you are on. You can click a green circle to jump back to that screen.
Good to know: Skip Setup, in the bottom left corner, closes the window. It asks Skip setup? first, and only closes when you click Yes, skip.
Screen 3: Pick your label size
NotBot draws each label to fit one size of sticker. If this size does not match the labels in your printer, labels come out cut off, squeezed, or spread over two stickers.
Step 4: Click the size of your labels
The screen is called Select Your Label Size and shows five boxes, one for each label size: 1" x 1", 2" x 1", 1" x 3", 2" x 3" and 4" x 6".
Click the box that matches the labels loaded in your printer. The size is printed on the label box or the roll. 2" x 3" is already chosen when you start, and it is the size we recommend. 4" x 6" is the size of a shipping label.

Step 5: Check the preview, then click Next
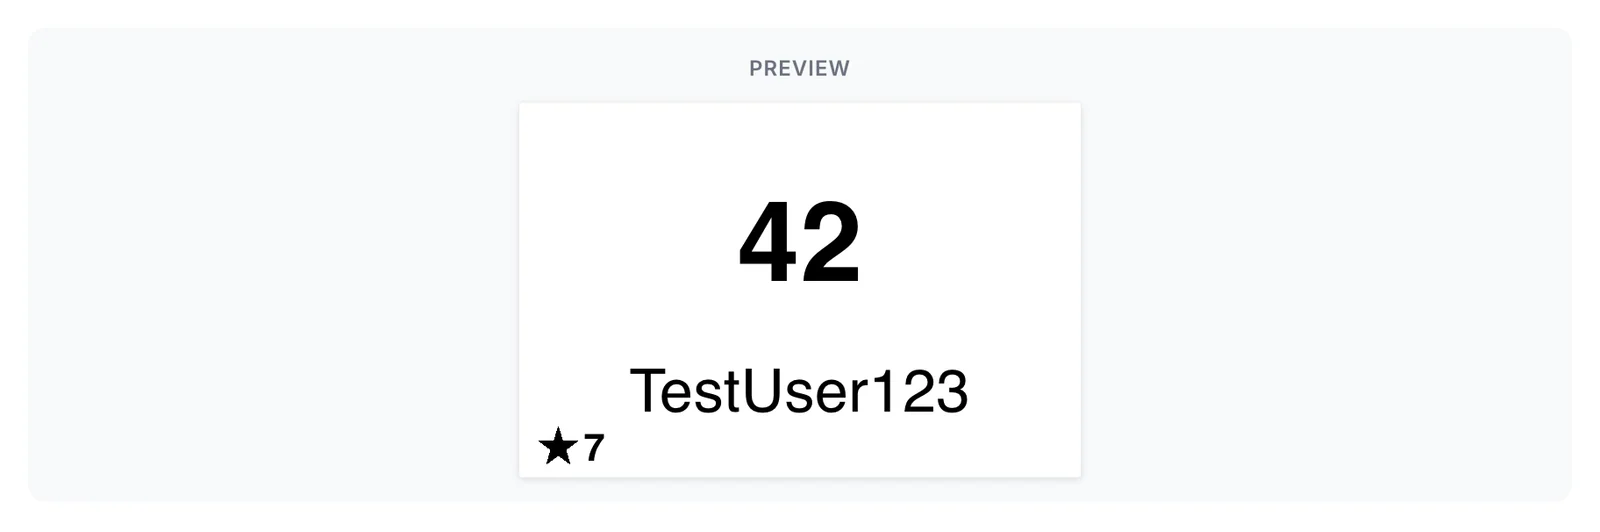
Under the sizes, Preview shows a sample label at the size you picked, filled in with a pretend buyer called TestUser123. With Buyer Only chosen, it is the buyer label: the buyer's number (here 42) in large print, their username under it, and a small star with a number in the bottom left corner. During a show the star marks a buyer the marketplace flags as a first-time buyer, so you can spot where to add a welcome card. The number next to it counts the show's first-time buyers: 7 means the seventh. Sample and test labels always show the star so you can see where it goes.
When the preview looks right, click Next.
Tip: You can change the size later, and pick a different label design. See Connect and test your printer and Change which design a label uses.
Screen 4: Connect your printer
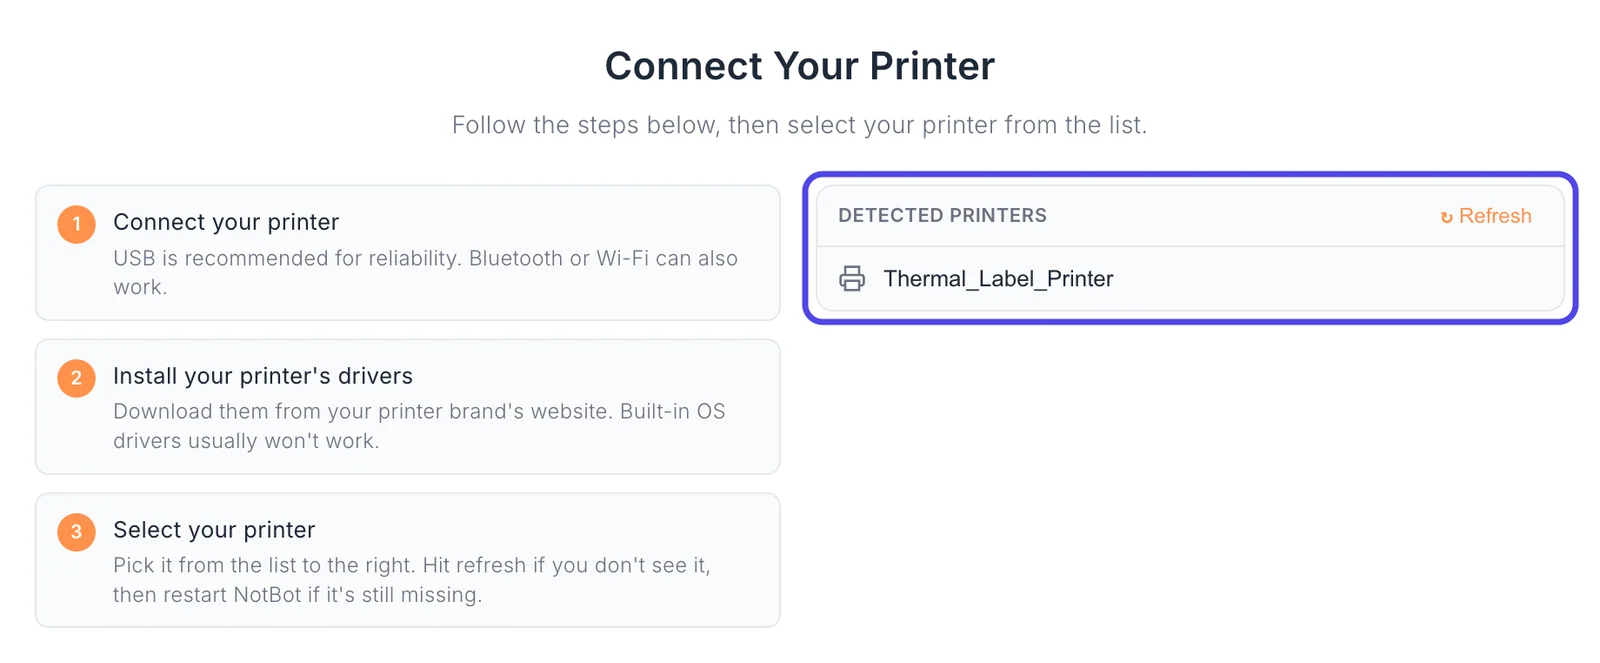
This screen is called Connect Your Printer. The left side repeats the three things your printer needs: a connection (USB is the most reliable), the driver from the printer maker's website, and to be picked from the list. The right side, Detected Printers, lists every printer this computer knows about.
Step 6: Find your printer in the Detected Printers list
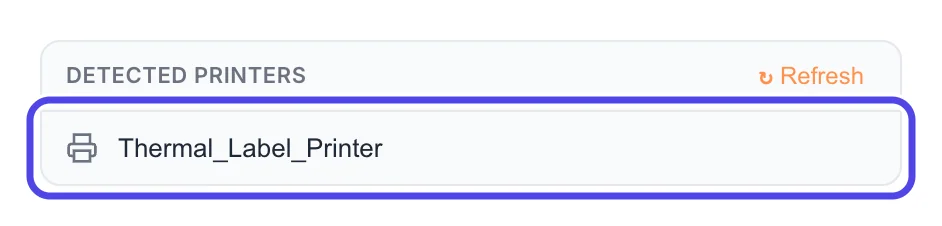
Look at the Detected Printers list on the right (circled). Your printer shows up under the name your computer gave it, usually the brand and model. In these pictures it is called Thermal_Label_Printer.
If your printer is not in the list, make sure it is turned on and plugged in, then click the orange Refresh in the top right corner of the list. If it is still missing, the printer's driver is probably not installed. Install it from the printer maker's website, then close NotBot and open it again.
Step 7: Click your printer
Click your printer's name in the list. A green check mark appears at the right end of the row, and more settings open underneath it.
Step 8: Leave Feed Direction and Media / Roll as they are
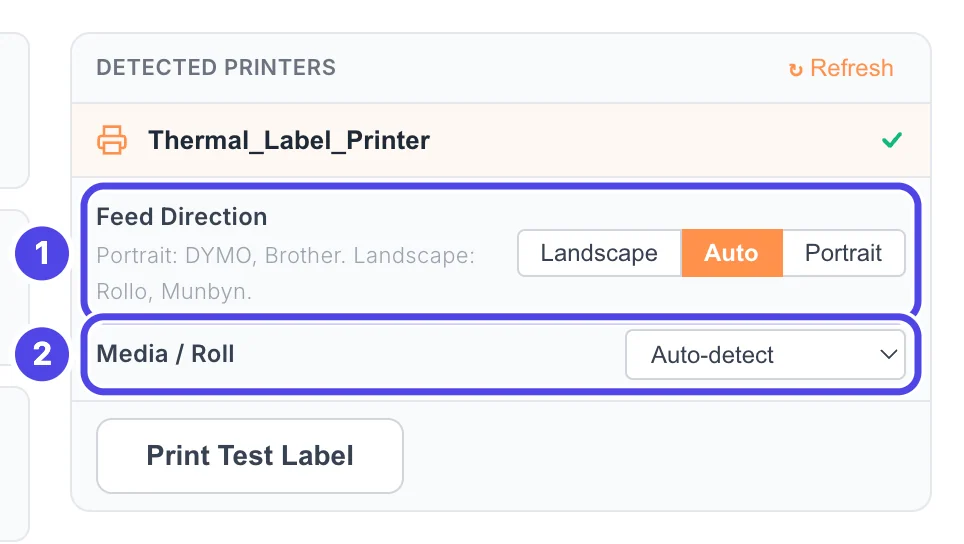
Two settings appear under your printer:
- Feed Direction tells NotBot which way the labels come out of your printer. It starts on Auto. The gray text under the name lists which printer brands use Portrait and which use Landscape.
- Media / Roll tells the printer which label roll is loaded. It starts on Auto-detect. Click it to see the label sizes your printer's driver knows about.
Leave both as they are for now. You only need to change them if the test label in the next step comes out sideways, upside down, or the wrong size.
Step 9: Click Print Test Label
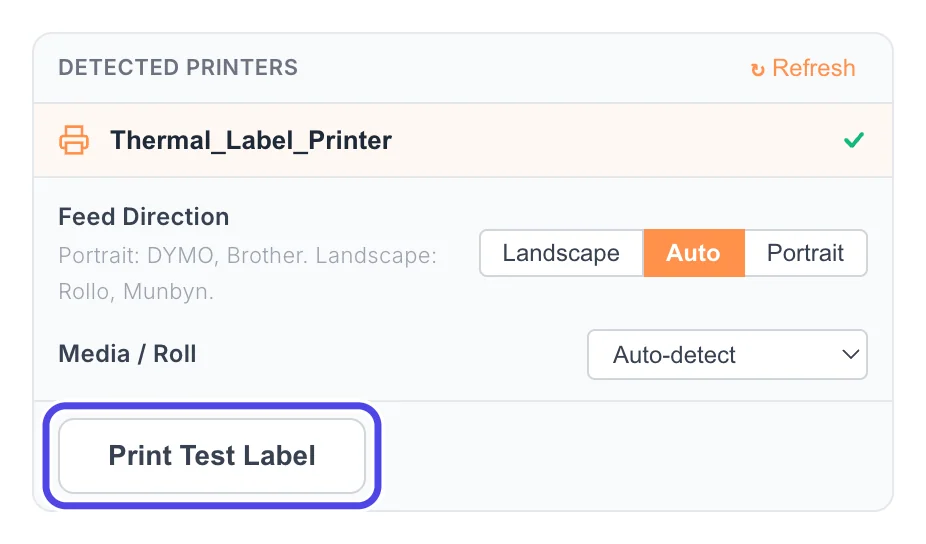
Click Print Test Label at the bottom of the printer box. NotBot sends one sample label to your printer. While it works, the button says Printing....
Step 10: Check that the label came out, then click Next
When NotBot has handed the label to your printer, a green check mark and Sent to printer appear next to the button for a few seconds.
Now look at your printer. A label should come out with the number 42, the name TestUser123 and the star with 7 on it. This test is always a buyer label, whichever print mode you picked. Check that it fits on one label, reads the right way up, and nothing is cut off.
If it looks right, click Next. If nothing came out, or the label is sideways or cut off, see If something looks different at the end of this guide before you go on.

Screen 5: How a show works
Step 11: Read how a show works, then click Next
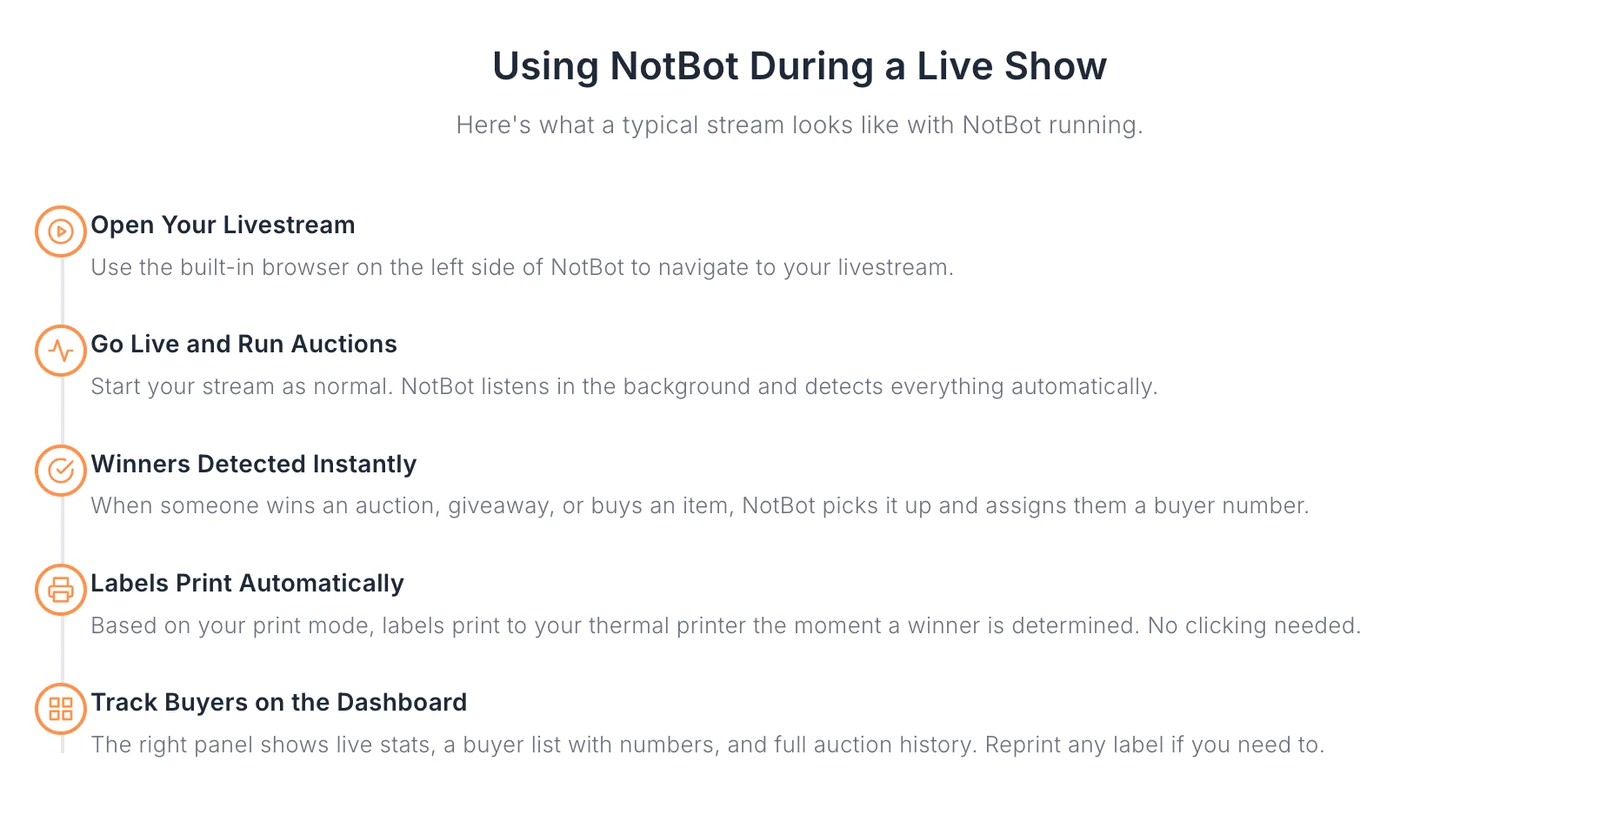
The screen Using NotBot During a Live Show shows what happens in a show, in five short lines:
- Open Your Livestream in the browser built into the left side of NotBot.
- Go Live and Run Auctions from your phone or tablet as you always do.
- Winners Detected Instantly: NotBot picks up each auction win, giveaway and purchase as it happens. Whether a buyer gets a number depends on the print mode you picked on Screen 2: Every Item gives out no numbers.
- Labels Print Automatically, following the print mode you picked.
- Track Buyers on the Dashboard in the panel on the right, where you can also reprint any label.
There is nothing to choose here. Click Next.
Tip: For a full walk through your first show, see Run your first show with NotBot.
Screen 6: You're all set
Step 12: Check your choices and click Start Using NotBot
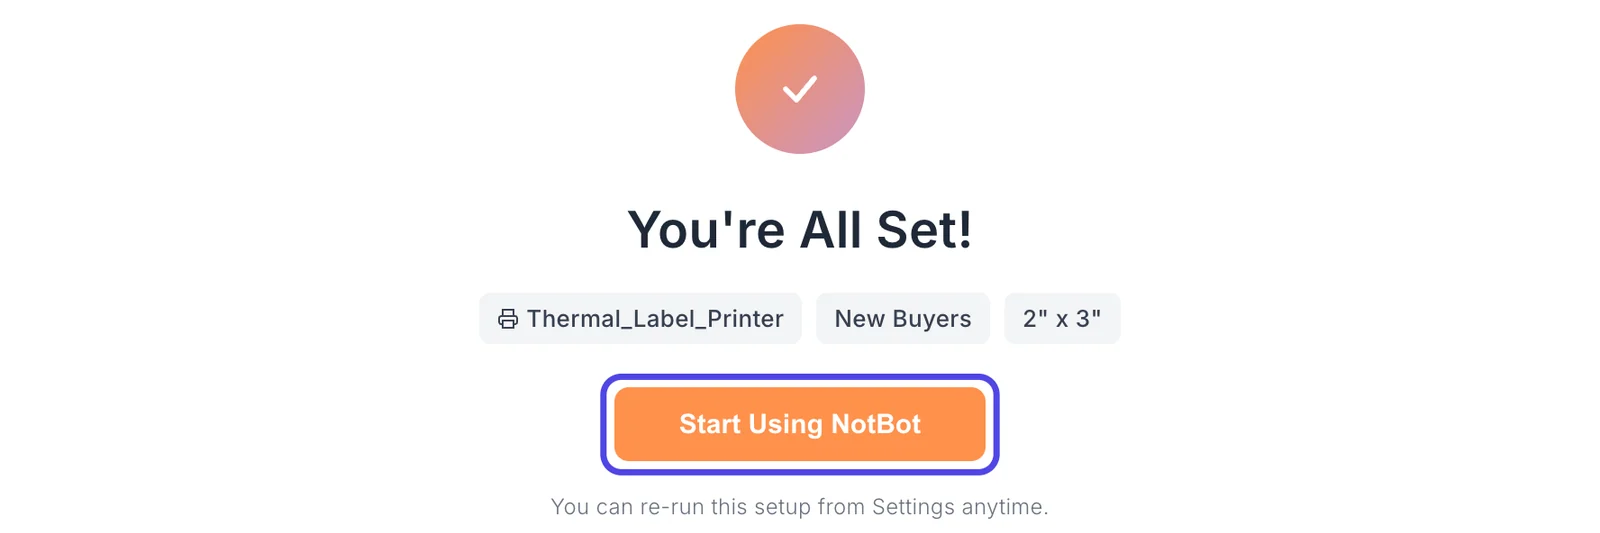
The last screen says You're All Set! and lists your three choices in the gray boxes under it:
- the printer you picked (here Thermal_Label_Printer),
- the print mode (here New Buyers, which is what this screen calls Buyer Only),
- the label size (here 2" x 3").
If something is wrong, click Back in the bottom left corner to go back and change it. If everything is right, click the orange Start Using NotBot button (circled). The Getting Started window closes and NotBot is ready for your show.
Open Getting Started again later
You can run the Getting Started window again whenever you like, for example after you buy a new printer. It opens with your current choices already picked.
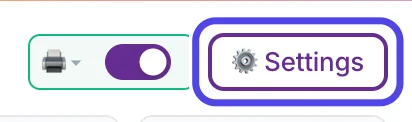
Step 13: Click Settings
In the NotBot panel on the right side of the window, click Settings at the top. It has a small gear in front of the word.
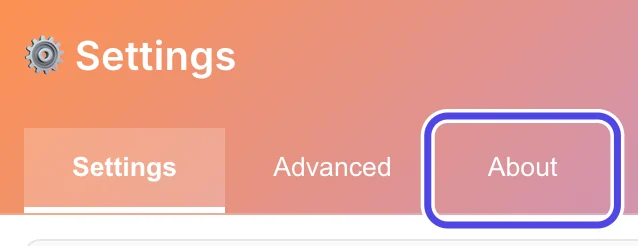
Step 14: Click About
The Settings panel slides in from the right. Along its orange top edge are three tabs: Settings, Advanced and About. Click About.
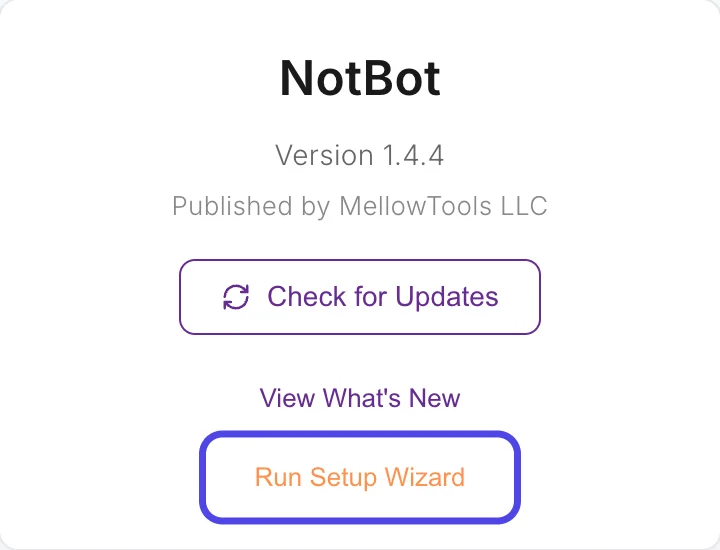
Step 15: Click Run Setup Wizard
The About tab shows your NotBot version. At the bottom of the tab, under View What's New, click the orange words Run Setup Wizard.
The Settings panel closes and the Getting Started window opens again at the first screen.
If something looks different
The Getting Started window never opened
It opens on each computer after you sign in, and only when your subscription or free trial is active. Once you finish or skip it, it does not open by itself again on that computer. If you skipped it, open it again from Settings, About tab, Run Setup Wizard (see the last three steps above).
My printer is not in the Detected Printers list
Check that the printer is turned on and plugged in with its USB cable, then click Refresh. If it is still missing, install the driver from the printer maker's website (on a Mac as well as on Windows), check that the printer appears in your computer's own printer list, then close NotBot completely and open it again. Connect and test your printer has more help.
The test label says "Print failed"
A red Print failed message appears next to the button, and a Things to try box opens under it with the fix most likely to help. Click More things to try in that box for the rest of the list. Print failed also shows when the printer has not answered within about 20 seconds, so look at the printer first: the label may still come out. The most common cause is a printer driver that came with the computer instead of the one from the printer maker's website. Labels are not printing: step-by-step fixes goes through each fix.
The test label came out sideways or upside down
Change Feed Direction under your printer. If it was on Auto, click Portrait and click Print Test Label again. If it is still wrong, click Landscape and print one more. Keep the one that reads the right way up.
The test label is cut off, squeezed, or spread over two labels
Go back to the label size screen (click the third circle in the row at the top; it is green with a check mark) and check that the size matches your labels. Then, on the printer screen, open Media / Roll and pick the entry that matches your label roll, and print another test label.
It said "Sent to printer" but no label came out
NotBot handed the label to your computer, but the printer did not print it. Turn the printer off and on again, check the USB cable and that labels are loaded, and try again. If that does not help, pick your label roll in Media / Roll and make sure the printer maker's driver is installed.
I picked the wrong print mode or label size
Click Back until you reach that screen and change it. After Getting Started is closed, change both on the Settings tab of the Settings panel, or run Getting Started again.